Clivia plants are not only beautiful but also resilient, making them a popular choice for gardeners worldwide. With their diverse range of colors and cultivars, these perennial flowering plants add a touch of elegance to any garden. If you're interested in propagating clivias from seeds, follow this comprehensive guide to ensure success.
Preparation
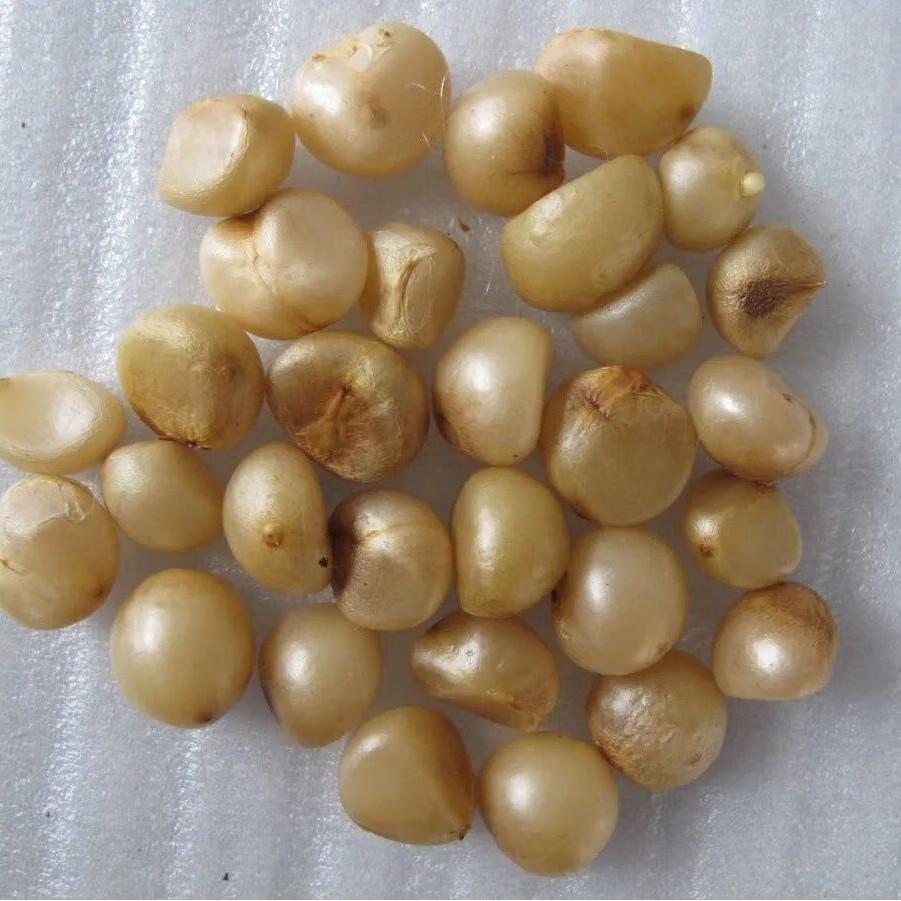
Choosing Seeds
Before planting, ensure you have viable clivia seeds. These seeds are typically ripe when the seed pod green to red or yellow. You can harvest them from the plant's big red berries or purchase them from reputable nurseries.
Soil Preparation
Clivia seeds thrive in a well-drained soil mix. Avoid using heavy soil, as clivias prefer aeration. Instead, opt for a potting mixture containing perlite or composted pine bark mulch. This mix will promote good drainage and aeration, essential for seed germination.
Treatment with Ethyl Methane Sulfonate)
An innovative method to strengthen clivia seedlings involves soaking seeds in an EMS solution before planting. This solution, at a concentration of 0.15-0.2% (v/v), can be applied to the seeds for a specific duration. After soaking, rinse the seeds thoroughly to remove any residual EMS. This treatment can increase seedling emergence rates and overall seedling strength, although initial growth may be slower.
Planting Procedure
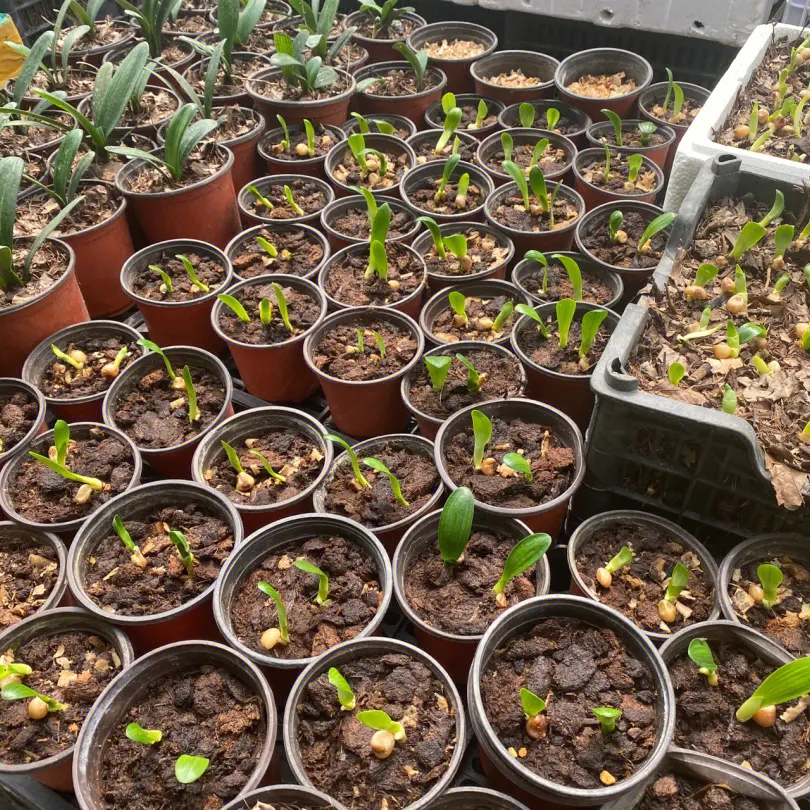
Sowing the Seeds
1.il Preparation**: Fill your seed trays or pots with the prepared soil mix, ensuring it's lightly moistened.
- Sowing: Plant the seeds with the dark spot (the embryo) facing upwards. This orientation aids in proper germination.
- Covering: Lightly cover the seeds with a thin layer of soil, no more than 1/4 inch deep.
- Watering: Mist the soil surface lightly with water to avoid soaking the seeds.
- Labeling: Mark the date and variety pots or trays for future reference.
Nurturing the Seedlings
- Temperature: Keep the seedlings in a warm, humid environment, ideally around 20-25°C (68-77°F).
- Watering: Maintain the soil lightly moist but not waterlogged. Water only when the topsoil feels dry to the touch.
- Light: Provide bright, indirect light to encourage healthy growth. Avoid direct sunlight, which can scorch the seedlings.
Transplanting
- Timing: Once the seedlings reach 1.2-1.8cm in height, they can be transplanted into individual pots or seed trays.
- Potting Mix: Use the same well-drained soil mix as before.
- Spacing: Space the seedlings adequately to allow for future growth.
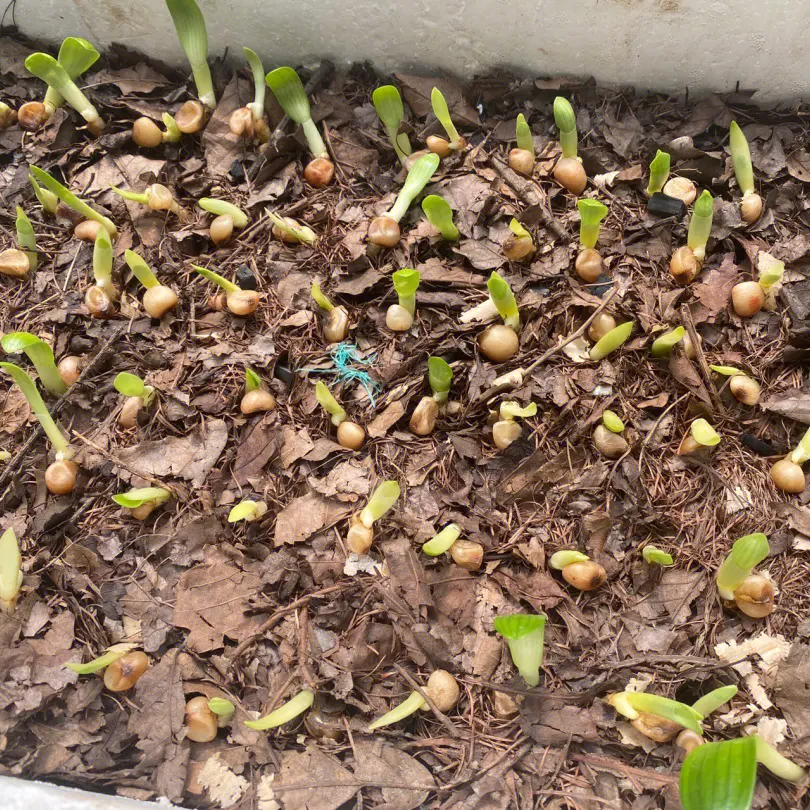
Growth and Care
Fertilizing
Clivia plants require minimal fertilization, especially if the soil isprepared. During the growing season (spring to summer), use a fertilizer with a high potassium content (such as sulphate of potash) to promote flowering. Alternatively, apply a general-purpose fertilizer two to three times during this period.
Watering and Lighting
- Watering: Clivia plants are drought-hardy once established. Water them regularly during the growing season, allowing the soil to dry out slightly between waterings.
- Lighting: Provide partial to full shade, as clivias prefer to the shade of trees or in shaded areas.
Winter Care
- Cold Treatment: For optimal flowering, clivia plants require a cold period of around 10°C (50°F) for 4-5 weeks. If grown indoors, consider moving them outside during winter or placing them in a cool, shaded area.
- Watering: During this cold period, reduce watering to keep the plants slightly dry.


